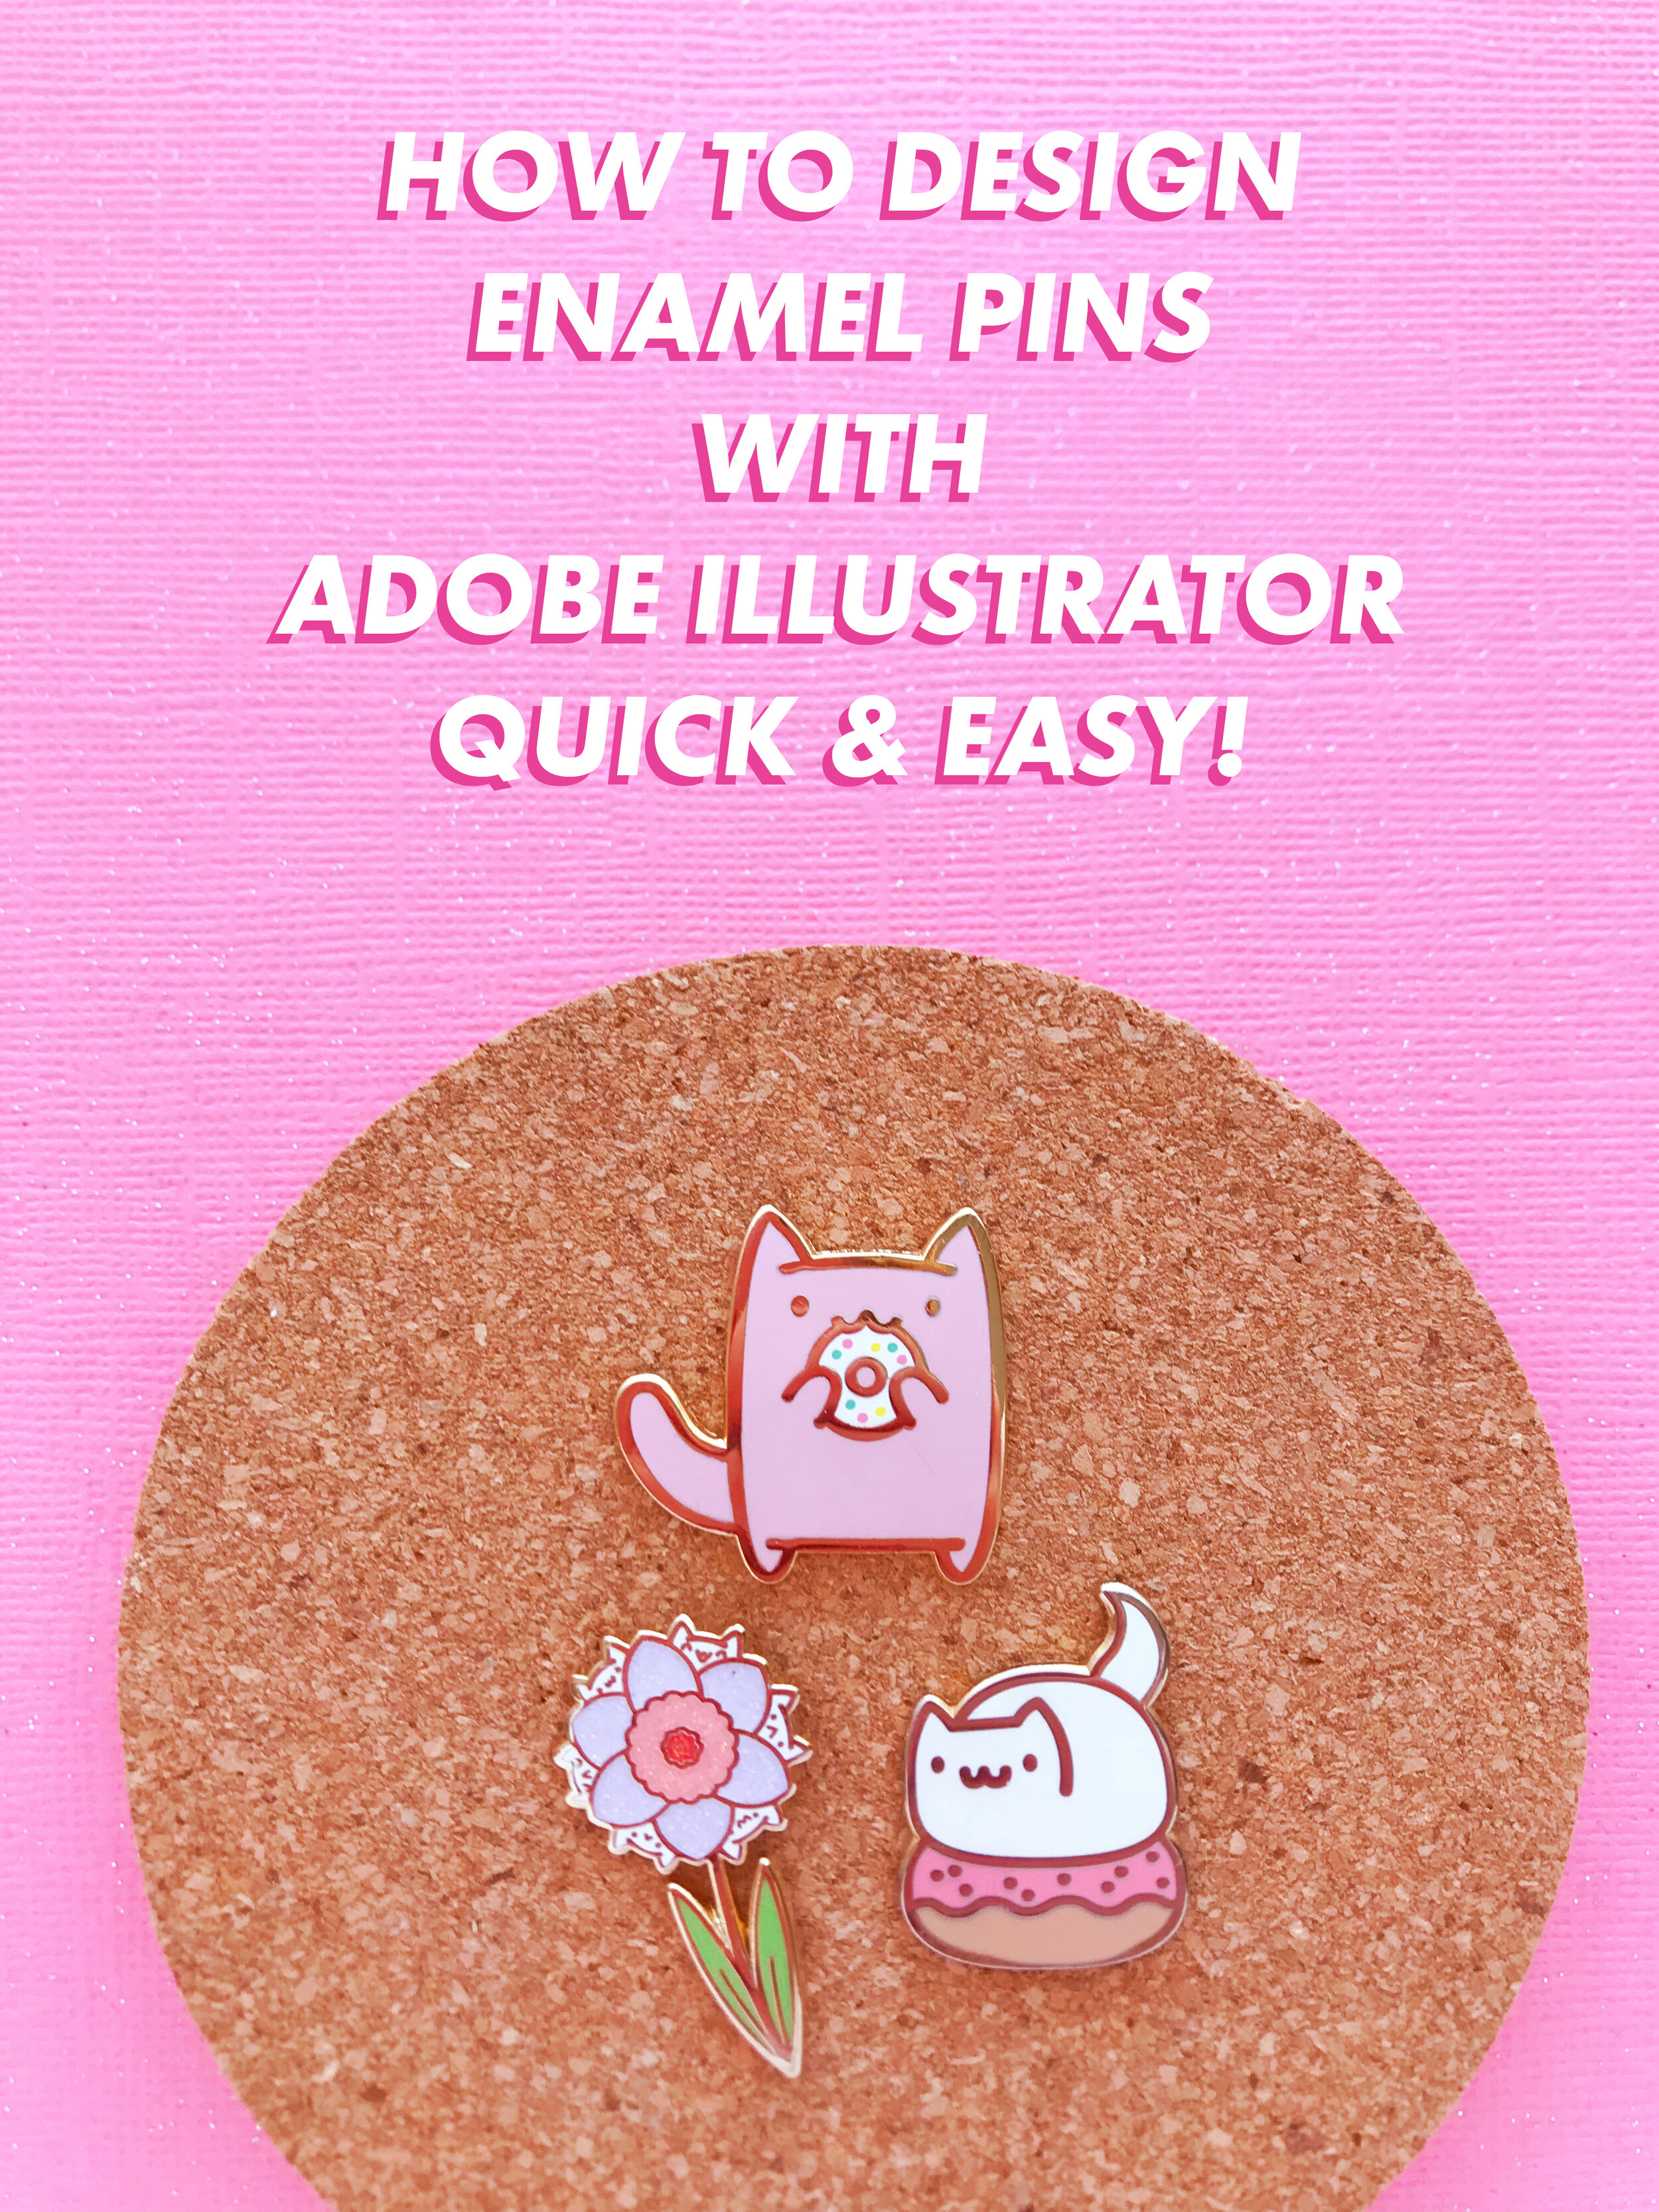
Adobe Illustrator can be pretty intimidating for first time pin makers and for seasoned pin makers, so I'm going to take all of the scariness out of it for you today. I'm about to show you everything you need to know about Adobe Illustrator when it comes to making enamel pins. So when you're done with this video, Illustrator won't seem frustrating, and you'll be excited to power through all your designs! I've been using illustrator for 15 years, and I have developed a system with my manufacturer to make designing pins and sending them to the factory and absolute breeze.
STEP ONE: SKETCHES
Okay. Step one, let's get your sketches into the computer. If you've been sketching on actual paper with a real life pen, then you can take a photo of the sketch with your phone and just email it to yourself. It's easy peasy, or you can take a photo with your camera, or you can scan it in. If you're using something like Procreate, then you can just, either AirDrop it between your iPad and your Mac, or you can use something like Google Drive, or again, just email it to yourself. There's no right or wrong way to do this. Again, as long as you're getting it onto your computer, that's perfect.
STEP TWO: OUTLINE
Okay, so step two is to outline your image. So, just drag your image file into Illustrator to open it up. And after this, I like to set the opacity of my sketch to about 50% and lock the layer, so I don't mess anything up. Then I lock that layer and create a new layer above.
Then you create a new layer, and head over to the Pen Tool. This is the main tool that you'll use as you vector your image. It'll take some getting used to, and everyone I know who uses it hates it in the beginning, but once you practice enough, it'll become second nature. There are other options too, but let's look at the Pen Tool first, because it's good to know the fundamentals.
Watch the video to see the Pen Tool in action!
Another fun tool is the Curve Tool. This thing is really cool. It actually anticipates the curve that you're making, so you don't have to do the manual click-and-drag of the Pen Tool. It’s just another way to do a curve, and I really like it.
The Smooth Tool is another good way to adjust curves. It’s nested under the Shaper Tool and allows you to modify a curve in a more organic way. Give it a try if you’ve got some particular curvy curves!
Let me know in the comments if the Pen Tool makes sense. Let me know if it's not quite as scary anymore, and tell me how amazing the Curve Tool is in the comments, please, because I'm into it. Okay! All right. Back to the work.
STEP THREE: ADDING COLOR
Now that I’m moving on to color, I lock the outline layer and make a new layer underneath. You’re color layer doesn't have to be perfect because it's hidden under your outlines and this part goes by a lot faster, plus you can edit the colors really easily.
Watch the video to see one of my favorite ways to add blocks of color to a pin design!
QUICK TIP:
If you're using your color picker, and you don't know how to find the closest Pantone Color, all you have to do is go to Edit > Edit Colors > Recolor Artwork, and then click the tiny palette in the middle of the window. This limits the color group to colors in the Swatch Library. Choose the Pantone Solid Coated from here, and it will pick the closest Pantone color for you.
STEP FOUR: EXPAND
To keep the integrity of your strokes, so they don’t scale when your artwork is resized, you want to expand your strokes and turn them into shapes. To do this, you select everything, and then you go to Object > Expand > Stroke. Now, all your strokes are shapes!
Another quick bonus tip is to use Pathfinder and merge everything to make your strokes all one giant shape. This makes it really easy to re-color in the template, which I will show you next.
ALL DONE!
Now, just toss it into your template, indicate your colors, finishes and any extra details and you’re ready to send your design to your manufacturer! My manufacturer has approved this template and they say there is nothing else I could possibly need when I send over designs! I've got a copy of this manufacturer approved template down below, so download it now for everything you need to send to your manufacturers. Seriously, it is the only template you will ever need.
Okay. So, that is how I vector all of my pin designs. That's exactly what I do every single time I go from sketch to vector to manufacturer. I promise you’ll get the hang of it, and you will be busting out so many pins. It's going to be incredible!
And if you want to start growing your following while you're waiting for your pins to come in, then be sure to check out my free webinar, The Five Ways to Grow Your Following Fast. It's all about Instagram. I give super actionable stuff, and you can kickstart your reach while you're waiting for your pins to come in.
I hope this was helpful!! Go makes some pins!!


![Three Big Myths You Probably Believe About Making Enamel Pins [VIDEO]](https://images.squarespace-cdn.com/content/v1/58d3f45fb8a79b27eb326fae/1560889507052-JQ93W96B3EISS00RUTDD/IMG_0339.PNG)
![How I Plan My Work Week to Maximize My Time [VIDEO]](https://images.squarespace-cdn.com/content/v1/58d3f45fb8a79b27eb326fae/1560887066154-JI72EUE9TMM6X10TPKL3/IMG_0337.PNG)
![Three Things You Must Include on Enamel Pin Backing Cards [VIDEO]](https://images.squarespace-cdn.com/content/v1/58d3f45fb8a79b27eb326fae/1560802882786-5V6SCQTIU2O5GUIVMGIJ/IMG_0334.PNG)
![Five Reasons to Start Making Enamel Pins Right Now [VIDEO]](https://images.squarespace-cdn.com/content/v1/58d3f45fb8a79b27eb326fae/1560800085713-916MVSY5IUKJFYDGQJ27/IMG_0331.PNG)
![All About Trades and Collaborating with Other Pin Makers [VIDEO]](https://images.squarespace-cdn.com/content/v1/58d3f45fb8a79b27eb326fae/1560798757258-VXEFOO03GBB0JKX4BGAX/IMG_0329.PNG)
![Instagram Basics for Pin Makers [VIDEO]](https://images.squarespace-cdn.com/content/v1/58d3f45fb8a79b27eb326fae/1560790982650-3KWZNA4CNHWRKZH3YFDH/IMG_0328.PNG)