What Types of Files do Manufacturers Need?
Let’s talk about files and how to set up your files for delivery to your manufacturer!
The file type that manufacturers want are vector files. Adobe Illustrator is the industry standard for creating vector work, there are other vector programs out there that you can use. If you don't have Illustrator and you prefer to use Photoshop, an app like Procreate that doesn't use vector files, or just sketch on paper, a lot of manufacturers can vector it for you. Sometimes it's an extra cost, but occasionally they provide that service for free as a bonus for using them. Be sure to check with your manufacturer if they offer it and confirm any extra cost.
If you want to dive into Adobe Illustrator you can get Creative Cloud. It's a monthly payment and I highly recommend it. I have been using Adobe Illustrator for 15 years and I love it! There are a bajillion tutorials on YouTube, and SkillShare (get 2 months free here!) that walk you through how to use it and I'll probably put a few up here myself later specifically for pin stuff. But what I'm talking about today is working with Adobe Illustrator. So get it. It's great.
Illustrator Tips
Okay, so you have a sketch and you want to get that sketch into Adobe Illustrator. If you an app on your iPad, you can airdrop onto your computer. But another super simple way to get a sketch onto your computer is take a picture of it with your phone and then email it to yourself. Easy peasy.
My biggest tips with working with Adobe Illustrator and sending something to a manufacturer is that you need to outline and expand everything. So if you have any text, if you leave it just as text and send it to your manufacturer, they might not have that font and then it'll turn it into a default font and nobody wants that. So, always remember to outline your text. That turns the letters into shapes and then you’ll know for sure that your text will be perfect.
And you also want to do the same with your strokes. If you put a one point stroke around everything and resize it, the stroke will get distorted. As long as you outline your strokes then there's no question about how big a stroke should be.
Recessed Metal
Okay, so you're in Illustrator, you got all your texts outlined, you've got your strokes expanded and it’s looking good. Something you want to look out for and something that a manufacturer might come back with is recessed metal. I have an example of this in the video. In this pin that I collaborated with Sharodactyl on, I have a little cat tail and it's a little bit further away from the cat's body and they had to use a little bit of recessed metal there. It’s not far enough away for a cutout and not close enough to fill with the regular metal, so they recess the metal to give the illusion of space. So if you don't like the look of that, I think it looks great on this particular pin, but if you want to avoid it, then you could move the tail up or move it down and go for a cutout.
CUTOUTS
Cutouts are parts of the pins that have been cut out of the mold. This can be holes in the middle of a pin, extra detail around the edge, just anything that requires delicate cutting of the mold. Cutouts can cost a little bit more because there is a lot more detail in the mold. A good example of cutouts is the dinosaur pin I did with Libby of Lux Cups in February of 2015 and that one's got big cutout. You can see the example in the video. The extra detail around the neck and tail of the dinosaur are the cutouts and I love this look.
And another thing you can do if you've got a space is just fill it with the metal, like the pin Nina of MIS0HAPPY worked on for my subscription too. So she has the space between the cup and handle and she just filled that with flat. That could've been recessed, it could have been cut out, but I think it looks really cute just as flat metal and that will cost a little bit less than recessed metal. If a manufacturer comes back with your mock up, they will note if there's recessed metal.
SIZING YOUR PINS
So now, you have your stuff outlined, you know what you want to do, but you're not really sure what size to make your pin. I like to start out with an inch, but it'll take a little bit of trial and error for you to see what you like. Some people like making giant pins, some people like making teeny tiny pins, but I think starting out with an inch is a good idea. A helpful trick that you could do try is to print it out to size. Try it at different sizes just see what it looks like. You cut it out, too, just to see physically what it's going to look like. This will give you a good idea of the detail and line spacing when you’re determining the size.
Just be aware, like I said in the last video, if you're getting hard enamel, your lines might be a little bit fatter. If you're getting soft enamel, they might be a little bit smaller. That being said, printing them out gives you really good general idea of how your pin will look. I definitely recommend it when you're first starting out and you don't really have a good reference point for what sizes work for you. Print it out, it's super easy.
CHOOSING COLORS
So manufacturers use Pantone’s Solid Coated color book. If you have Illustrator, you can look up that color book, add it in your swatches and pick from there. It's super easy. They might not match on your screen as they do in real life, but at least it's a good starting point. I do recommend getting a physical formula guide. This one was about $100. The formula guides usually come in a two-pack but you you only need the Solid Coated book. You can usually find them separately on both Amazon and eBay. The reason Pantone’s are so important is because the colors have specific formulas that the manufacturer can match, so you know you’re getting the right color. Sometimes colors can vary, because humans are still mixing them and no one is perfect, but they should still be VERY close to your original pick.
I love my formula guide. I use it every time I pick colors and get pretty specific about the light around me when I’m picking. I don't use it at night anymore because I don't trust the warmth in my lightbulbs. I only pick my colors in the middle of the day with the natural light now because I'm crazy town. But, I did go my first year without using one and just using the solid coated swatches in Illustrator. That’s still an option if you’re not ready to get the book. I look at it like I just need to sell 10 to 12 pins to pay for this and in the grand scheme of things, it's not that much. It makes my life a lot easier now and I get really excited to open it up and pick colors when it’s time. When I was little, the first job I ever wanted was to be a colorist at Disney so this is kind of like living my dream. But yes, I highly recommend getting a Solid Coated formula guide, but it's not totally necessary.
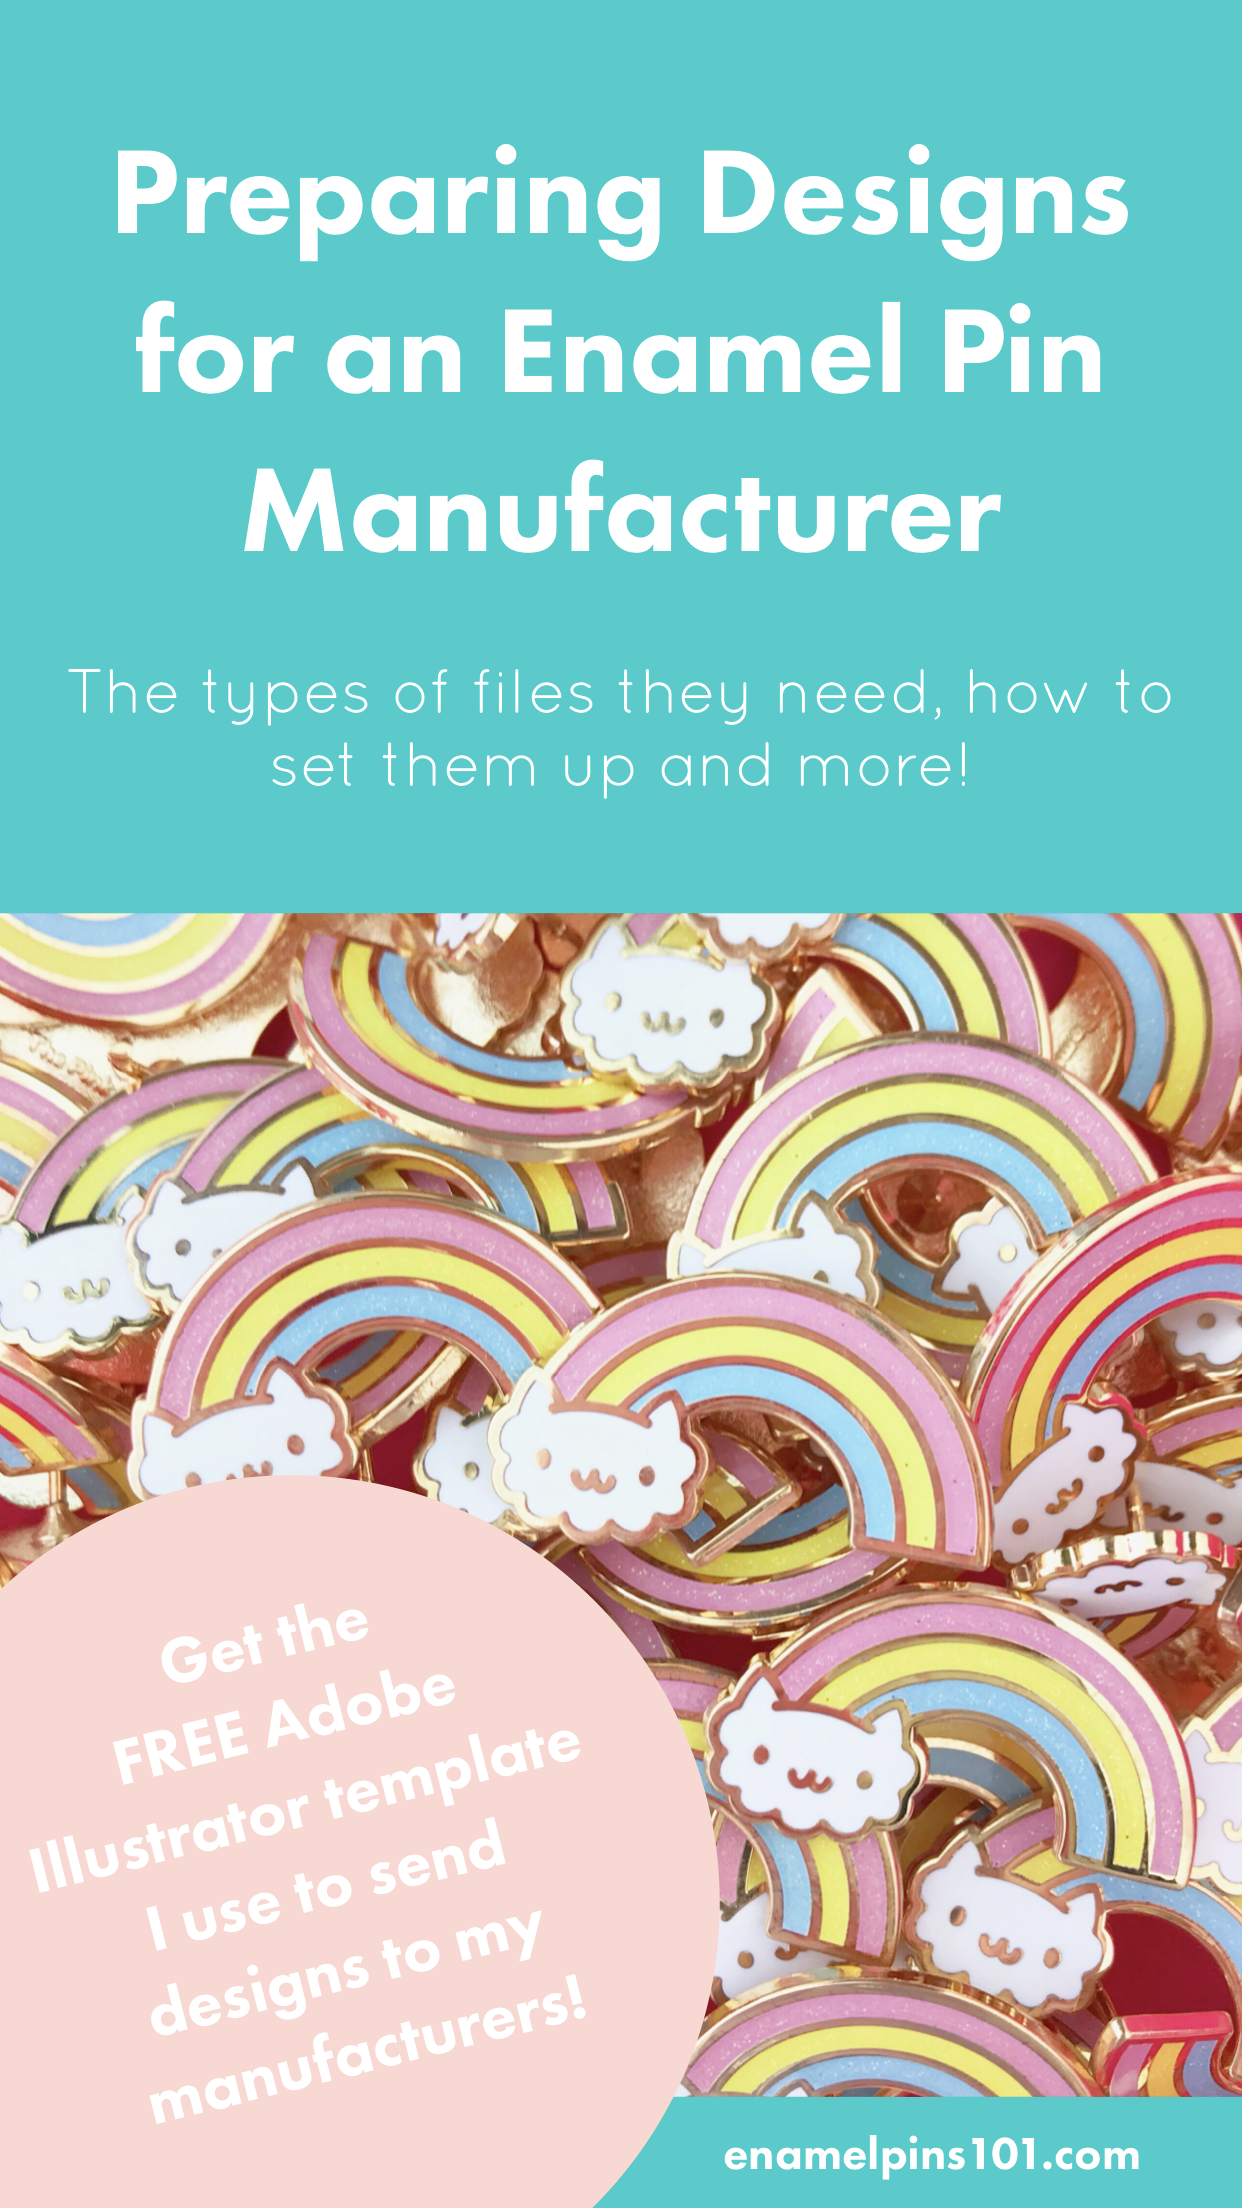
FREE TEMPLATE
I've got something a little fun to help you out a little bit. I have an Illustrator file as a download for you! Check the link below and it has an example of exactly what I send to my manufacturers. The template has a sample pin and and shows exactly how I set up my pantone colors, plus how I add any other extra details. There’s a space for indicating screen printing, back stamps, finishes and more. You can customize it however you’d like, but if you want to have an example of something to send to your manufacturer that you can just plug and play, feel free to use it as it is. Click the link below and you can download it. It's something I use every single time I messaged my manufacturer. I hope it helps!